How to Set Up Your INNOVV DashCam?
Before you start using your INNOVV dash cam, you need to follow these steps to ensure it works properly and meets your expectations.
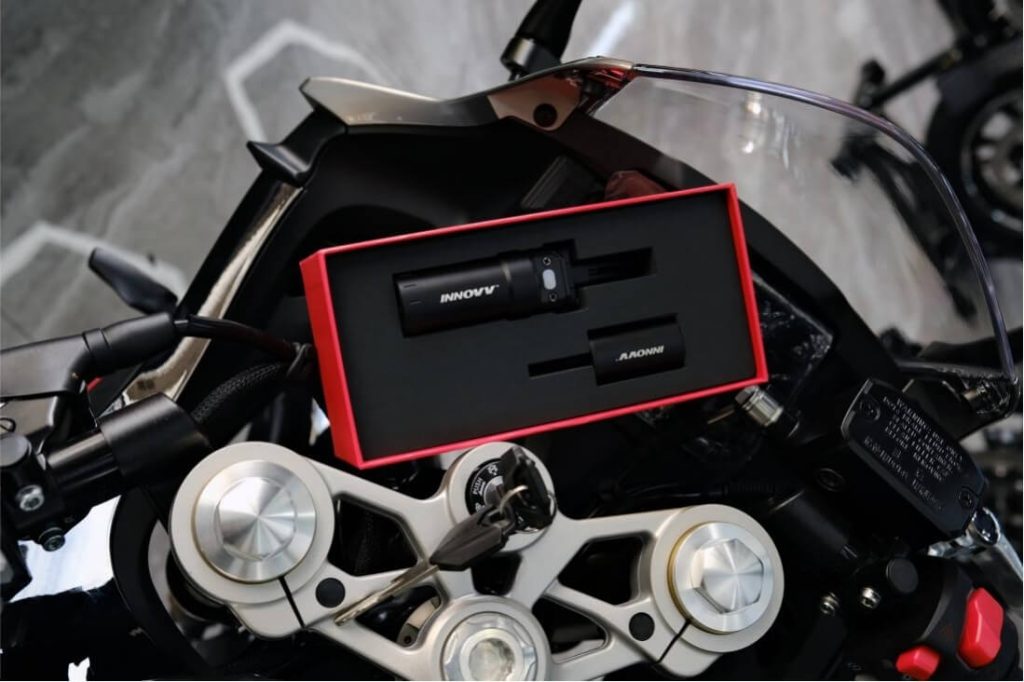
Step 1: Check the Components and the Packaging
Open the package and compare the contents with the list of components in the manual. Make sure everything is included and in good condition. The manual will also help you learn about the functions and operations of the INNOVV dash cam.
Step 2: Get a Suitable SD Card
A good SD card that meets the requirement is of great importance to access the great performance since INNOVV dash cam needs to handle and load a lot of clips and data. And you need to format the SD card to FAT32 on your computer or laptop before inserting it into the DVR slot.
Step 3: Starting Testing
Connect the components according to the product structure diagram in the manual; power up INNOVV dash cam with a power bank by the USB port in DVR (5V, 2A or more) or a motorcycle battery (12.5V or more) by the DC converter(red and yellow wires connect with positive electrode, black wire connect with negative electrode), then check that the indicator lights on the remote control module (K3, K5) or the front camera (K6) are working correctly.
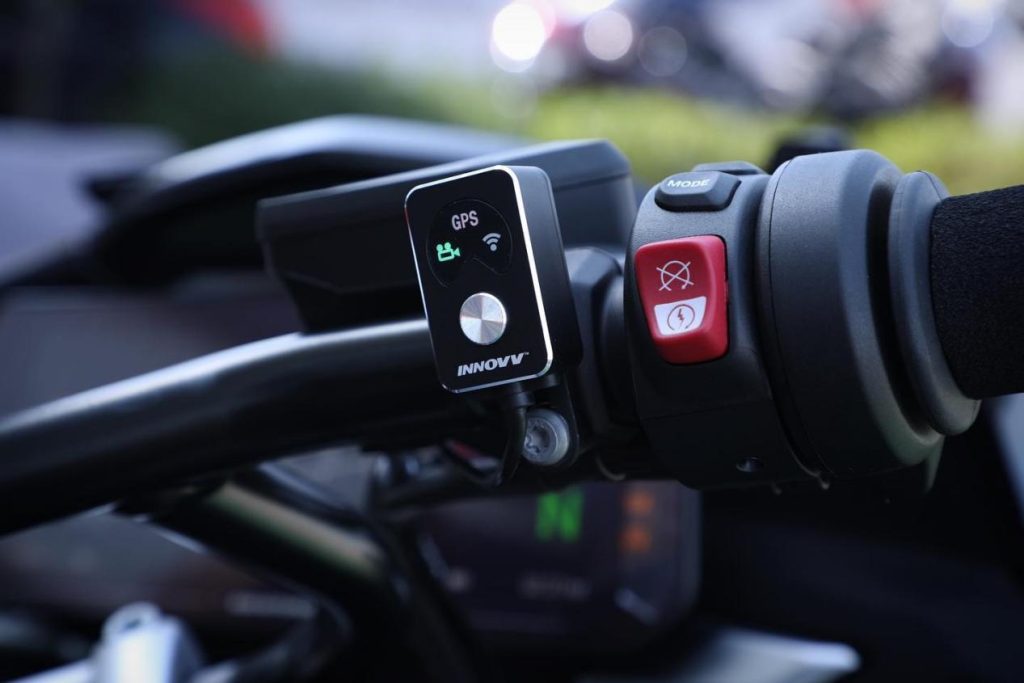
Step 4: Check the Functions
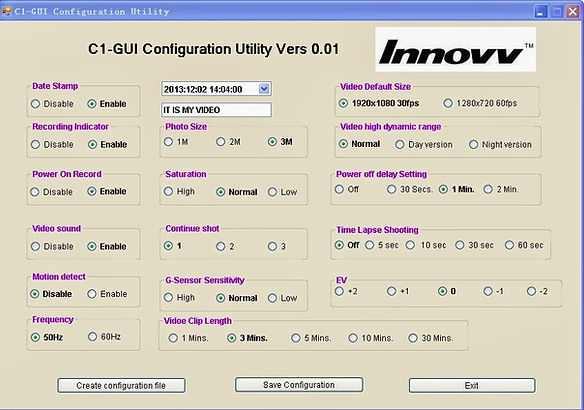
Download the INNOVV app from the app store or scan the QR code in the manual. Connect your phone to the device via Wi-Fi and follow the instructions in the manual. Use the app to preview, change settings, and download videos. It is recommended to format the SD card within the app.
Step 5: Choose the Best Installation Positions for the Components
The user manual provide an installation ways of components, however, if you need more reference for the attached location on motorbike or other device, please check installation videos or pictures on INNOVV website. More specific customized installation advice, please contact our professional service team by sending email to [email protected]/[email protected].

Step 6: Install the INNOVV Dash Cam on Your Bike
Fix the components on your bike with INNOVV brackets and screw, reserve enough length of cable to fit the movement and turn of the bike and make sure that the DVR far away from the heated parts.
Step 7: Perform a Trial Run
Ride for about 10 minutes and record a short video. Then check the video on your phone to see if the camera angle, clarity, stability, GPS tracking, and time stamp are satisfactory.

Congratulations! You have successfully set up your INNOVV dash cam and you are ready to enjoy your ride with it!

Responses