How to Install INNOVV K2 Motorcycle Dashcam on Ducati Multistrada
*This installation guide was shared by kkeech from INNOVV forum.
I just installed a INNOVV K2 motorcycle dashcam on my Ducati Multistrada. Didn’t find any tutorials for installation on this bike, so thought I would share what I did.
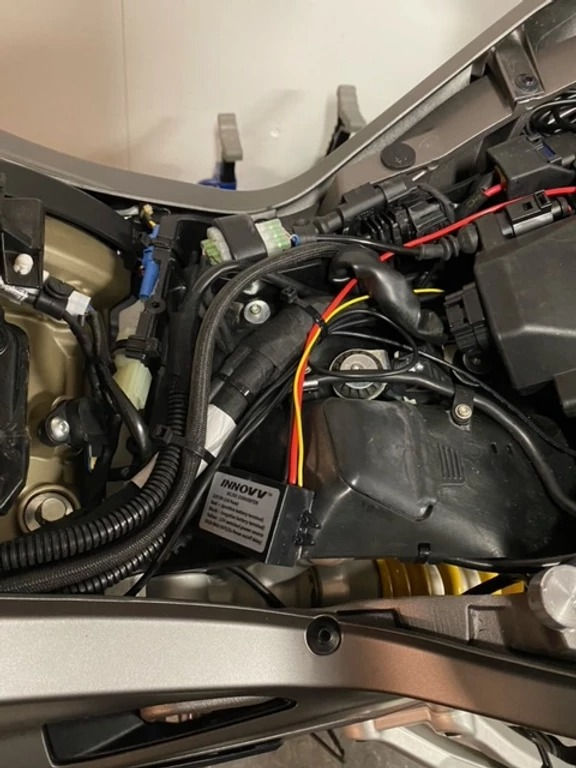
For electrical I tapped into the already attached Optima charging cable, and for “ignition on” tapped into the under seat USB port power.

I found entry into the rear storage compartment challenging. I didn’t want to drill holes and the compartment is molded to fit the pillion seat so well there was only space on either side at the front of the compartment. This allowed power and GPS cable on one side and cameras on the other. The rear camera cable was routed just under the lip of the seat and then into the compartment from the front.
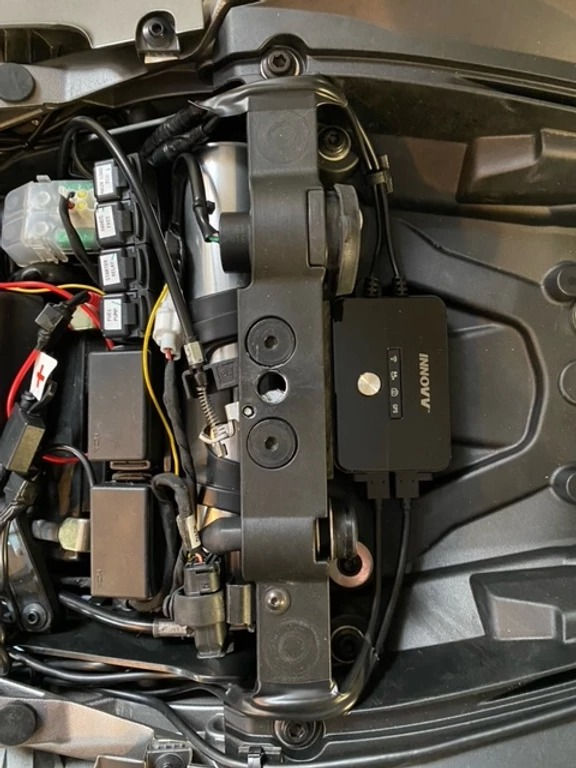
I created a padded seat for the DVR out of the packaging it came in. I would have preferred to mount it upright on the front wall, however the cables interfered with the USB port and power port. I wanted to keep them accessible for use if needed.

The power converter was mounted under the rider seat on an existing cover. Not a lot of room under this seat.
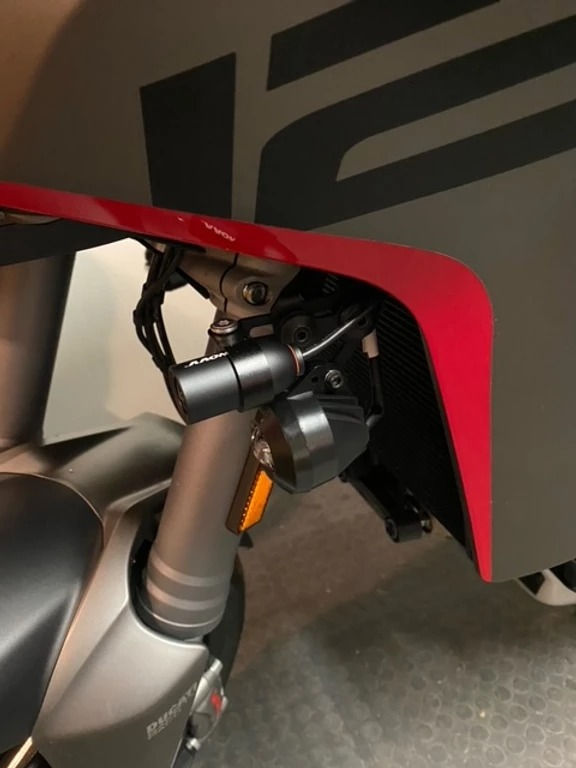
Despite other articles and videos that hid the GPS antenna I decided to mount it to see the sky, as it should be. I found a spot on the fairing that allowed it to even flow with the lines.

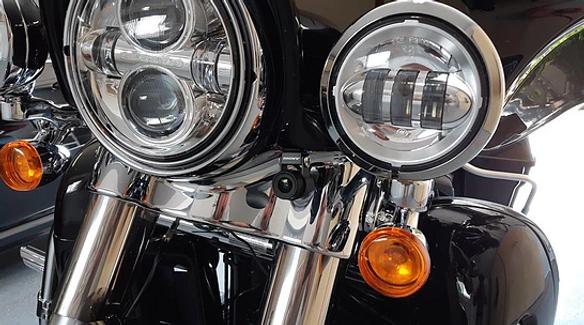
The front camera was mounted to the left driving light bracket. Quick tests show that it allows for a great field of view and it clears the beak on the fairing. Its cable and the GPS cable were easily routed under the body panels and into the seat compartment without taking anything apart. I used a piece of copper wire as a fish line.
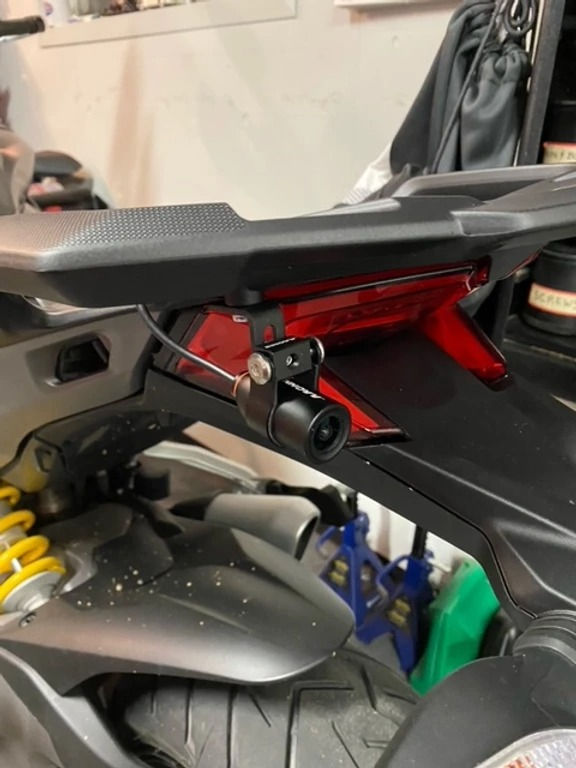
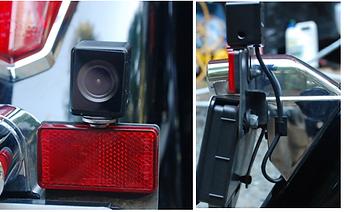
The rear camera was mounted under the cargo rack / pillion grab handles. There is a threaded hole there. It may be for an accessory mount such as a topcase, but I will cross that bridge later.

I took my time with the installation and it was about 6 hours. I won’t be able to road test it for a few months yet as it is mid-winter. Please comment if you have any questions I may be able to help with. BTW, great install on your Yamaha. I like how you integrated the cameras!

Responses